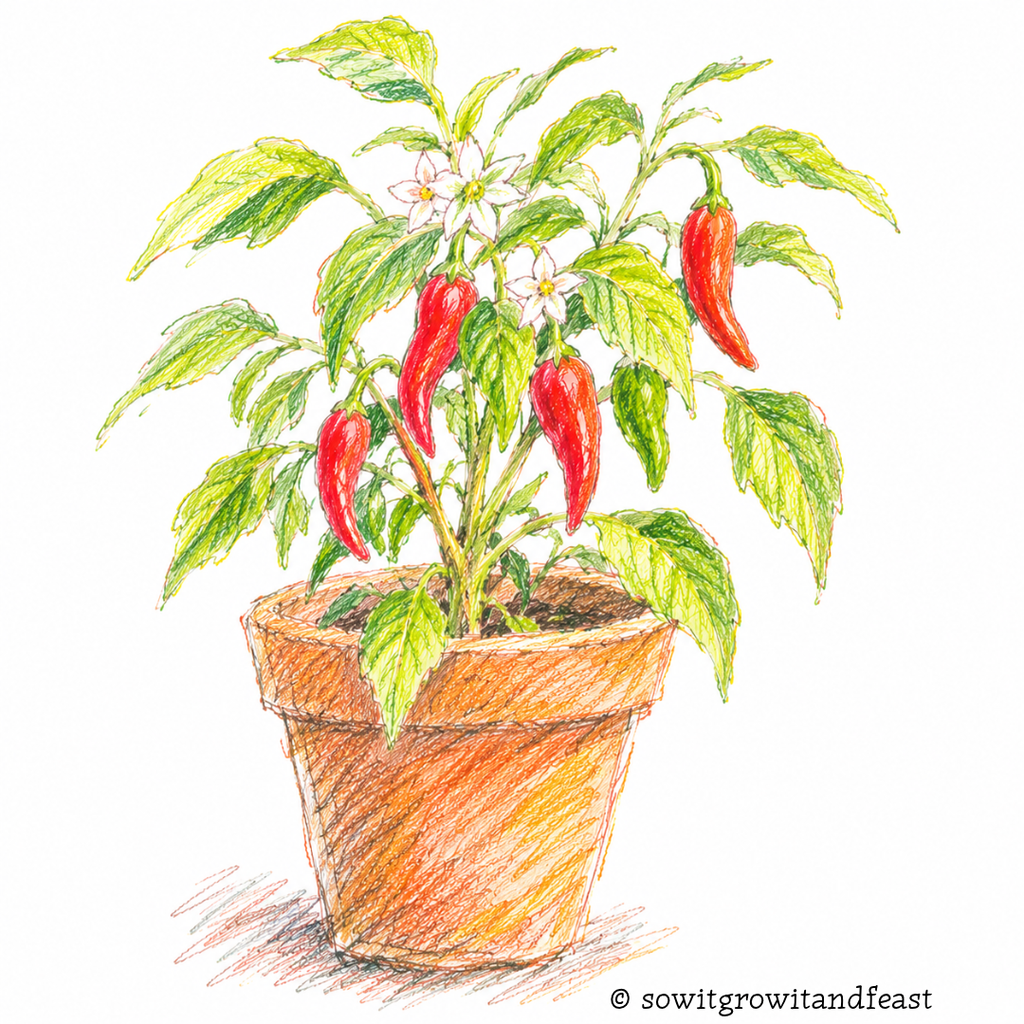
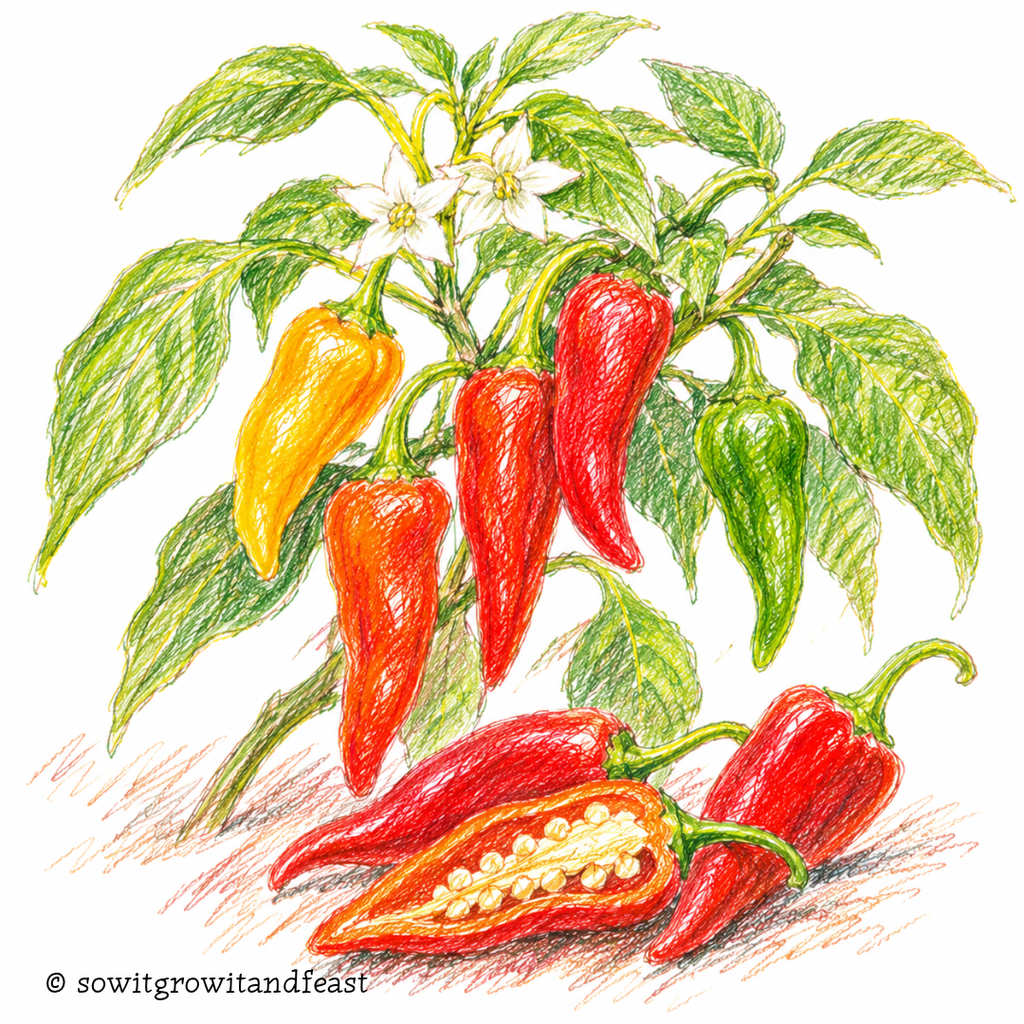
There is something rather satisfying about growing your own chillies. From a tiny seed tucked into warm compost to a plant laden with brightly coloured fruits, the journey requires a little patience, plenty of warmth and the occasional reminder that good things take time.
Chillies bring a wonderful combination of colour, flavour and character to the kitchen garden. Some offer a gentle warmth, others deliver a rather more memorable experience, but all begin in much the same way: with a small seed and the promise of a summer harvest.
Originally from warmer parts of the Americas, chilli plants belong to the genus Capsicum and thrive in conditions considerably warmer than the average British spring.
Fortunately, that needn’t prevent us from growing them successfully.
With an early start indoors, a sunny position and a little attention throughout the growing season, chillies can flourish in greenhouses, polytunnels, conservatories and sheltered gardens across the UK.
And you don’t need an elaborate growing setup to begin. A few pots, some good compost and a warm place to germinate your seeds are often quite enough.
When Should You Sow Chilli Seeds in the UK?
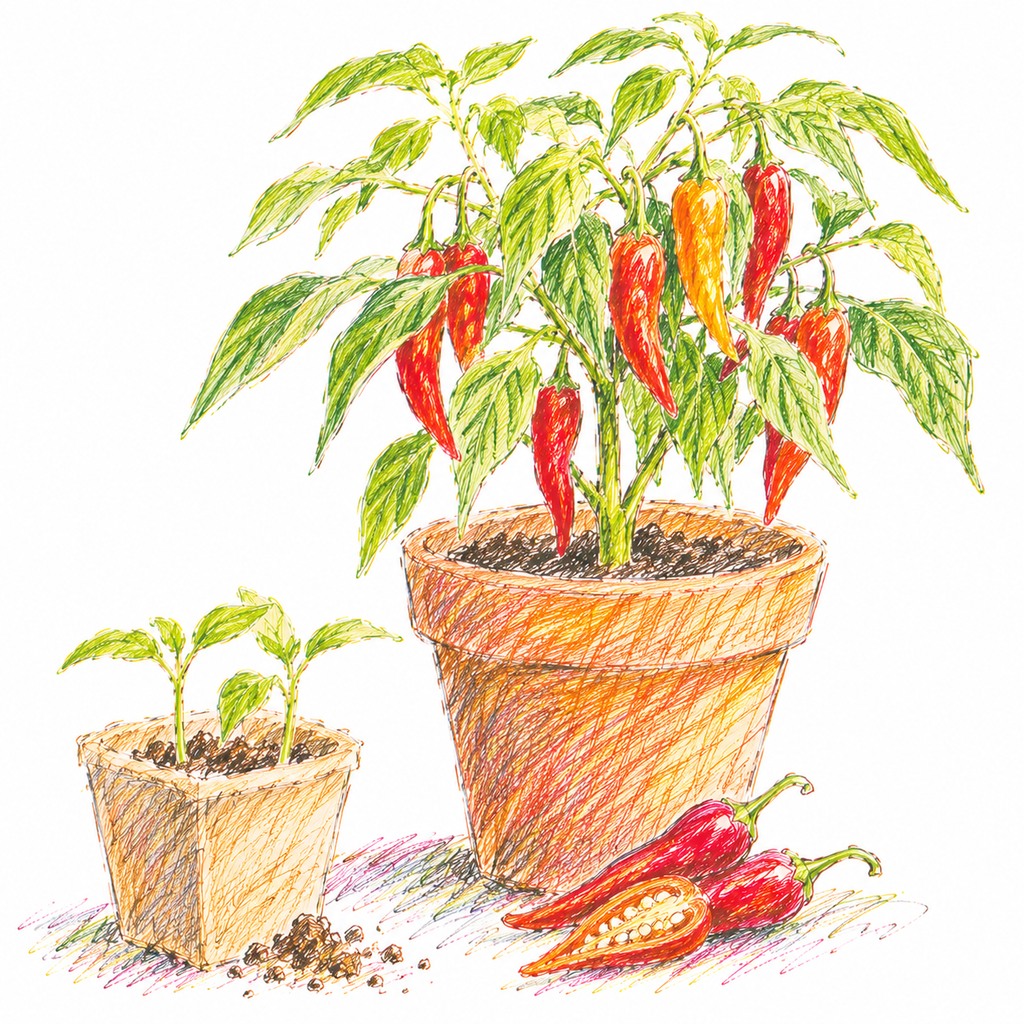
Timing is particularly important when growing chillies.
Unlike radishes or lettuce, which can provide a harvest within weeks, chilli plants need a relatively long growing season to develop, flower and ripen their fruits.
Starting seeds indoors gives them a valuable head start before the warmer weather arrives.
For most UK gardeners, February to March is an excellent time to begin sowing.
Some particularly slow-growing or very hot varieties, including certain Capsicum chinense chillies, benefit from being started as early as January, provided you can supply sufficient warmth and supplementary light.
However, there is little advantage in sowing very early if seedlings are going to spend weeks struggling on a cold, gloomy windowsill.
A healthy plant started in March can often outperform one sown in January that has suffered from poor growing conditions.
As the days lengthen and spring gathers pace, the seedlings will have increasing natural light to support their development.
By late spring, they should be well established and ready for their next stage of growth.
What You’ll Need to Grow Chillies from Seed
Growing chillies doesn’t require an extensive collection of gardening equipment.
A few simple items will make the process easier:
- Seed trays or small pots – to provide a suitable space for germination.
- Peat-free seed compost – a fine, free-draining growing medium for young seedlings.
- Heated propagator – particularly useful for maintaining consistent warmth.
- Dibber or pencil – for making small planting holes.
- Watering can with a fine rose – to water gently without disturbing the seeds.
- Seedling widger or small spoon – for lifting young plants when potting on.
- Individual pots – to accommodate seedlings as they grow.
- Plant labels – because identifying six different chilli varieties by their leaves is rather more difficult than it sounds.
A heated propagator is helpful, but not essential.
A consistently warm indoor position can also work, although germination may take longer and be less predictable.
Step 1: Prepare Your Compost
A successful chilli plant begins with good growing conditions beneath the surface.
Fill your seed trays or small pots with fresh, peat-free seed compost.
This should be fine enough to surround the seeds without leaving large air pockets, while allowing excess water to drain away.
Gently firm the compost without compacting it.
Water thoroughly and allow any excess moisture to drain before sowing.
The compost should feel evenly moist rather than saturated.
Seeds need moisture to begin germination, but they also require oxygen. Waterlogged compost can encourage rotting before the seedlings have even emerged.
There is no need to add fertiliser at this stage.
Good-quality seed compost will provide an appropriate environment for germination, and the seed itself contains the energy needed to begin growing.
Step 2: Sow Your Chilli Seeds
Chilli seeds are relatively easy to handle, making them a satisfying crop for beginners.
Using a dibber, pencil or fingertip, make a shallow hole approximately 5–6mm deep.
Place one seed into each small pot or module.
If sowing in a larger seed tray, leave enough space between seeds to make lifting the seedlings easier later.
Cover lightly with compost and gently firm the surface.
Water carefully if necessary, taking care not to wash the seeds out of position.
Label each variety with its name and sowing date.
This becomes particularly useful when growing several different chillies, especially if you have chosen a mixture of mild, medium and exceptionally hot varieties.
After all, discovering which is which by tasting them can be a rather dramatic method of identification.
Step 3: Give Your Seeds the Warmth They Need
Warmth is one of the most important ingredients for successful chilli germination.
Most chilli seeds germinate well at temperatures of approximately 21–27°C, although the ideal temperature varies between varieties.
A heated propagator provides a reliable way to maintain these conditions.
Place the seed trays inside and keep the compost lightly moist.
If using a propagator cover, check regularly for excessive condensation and provide ventilation as needed.
Without a heated propagator, a warm indoor location may be sufficient.
However, a windowsill can become surprisingly cold overnight, even when the room itself feels comfortable.
Avoid placing seed trays directly above excessively hot radiators, where compost may dry out rapidly.
How Long Do Chilli Seeds Take to Germinate?
Under suitable conditions, many chilli varieties begin germinating within 7–21 days.
Some, particularly very hot varieties, may take considerably longer.
Temperature, seed freshness and variety all influence germination.
Try not to disturb the compost repeatedly to check whether anything is happening.
The seeds are quite capable of getting on with the job without an audience.
Step 4: Caring for Your Chilli Seedlings
The first appearance of a tiny green shoot is always a welcome moment.
Once seedlings emerge, they need plenty of light to develop into sturdy, healthy plants.
Remove them from the enclosed propagator and move them into a bright, warm position.
A sunny, south-facing windowsill can work well, although seedlings started in midwinter may benefit from a suitable grow light.
Insufficient light encourages weak, elongated growth as seedlings stretch towards the nearest light source.
These rather spindly plants are often described as leggy.
Keep the compost lightly moist, allowing the surface to begin drying between waterings.
Avoid leaving pots standing in water.
Good air circulation also helps reduce the risk of damping-off, a disease that can cause young seedlings to collapse.
As the plants develop, their first seed leaves will be followed by true leaves.
These resemble the foliage of the mature chilli plant and indicate that the seedling is beginning to establish itself.
Step 5: Potting On Your Seedlings
Once your chilli seedlings have developed their first pair of true leaves and are large enough to handle comfortably, they can be moved into individual pots.
There is no need to wait for a particular height.
The development of healthy leaves and roots is a better guide than whether a seedling has reached two or three centimetres.
Fill small pots, approximately 7–9cm in diameter, with suitable peat-free potting compost.
Make a planting hole in the centre.
Using a seedling widger or small spoon, gently lift each seedling from its tray.
Where possible, handle seedlings by a leaf rather than the delicate stem.
Place the roots carefully into the prepared hole and firm the compost gently around them.
Water lightly and return the pots to a warm, bright position.
The seedlings may appear to pause briefly after transplanting, but healthy plants should soon resume growing.
Step 6: Give Your Chilli Plants Room to Grow
As spring progresses, your chilli plants will begin producing more leaves and developing stronger root systems.
Check the pots occasionally.
When roots are reaching the drainage holes or the compost begins drying out unusually quickly, it may be time to move the plants into larger containers.
A pot approximately 12–13cm in diameter is often suitable for the next stage.
Use fresh, peat-free multipurpose compost and avoid damaging the roots during transplanting.
Potting on gradually is generally preferable to placing a very small seedling into an enormous container.
An oversized pot can retain more moisture than the young roots are able to use, increasing the risk of waterlogging.
As the plants mature, they may eventually need containers of 5–10 litres or more, depending on the variety.
Compact chillies can grow happily in relatively modest pots, while larger varieties benefit from additional root space.
Step 7: Moving Chilli Plants Outdoors
One of the most tempting mistakes is moving chilli plants outdoors as soon as the first warm spring afternoon arrives.
Unfortunately, British spring weather has a habit of changing its mind.
Chillies are tender plants and can be damaged by low temperatures.
They should not be placed permanently outdoors until the risk of frost has passed and overnight conditions are reliably warm.
In many parts of the UK, this means late May or June, although local conditions vary.
In colder or exposed gardens, a greenhouse or polytunnel may provide more reliable growing conditions.
Hardening Off
Before moving plants outdoors permanently, gradually introduce them to the outside environment.
Begin by placing them in a sheltered position for a short period during the day.
Increase their exposure over approximately one to two weeks, protecting them from cold nights, strong winds and intense sunshine.
This process, known as hardening off, helps plants adjust to changing temperatures, sunlight and air movement.
Even plants destined for a greenhouse may benefit from a gradual transition if they have been growing in warm indoor conditions.
Step 8: Watering and Feeding Your Chilli Plants
Once established, chilli plants appreciate consistent care.
Water when the upper layer of compost begins to dry, ensuring excess water can drain away.
During hot weather, container-grown plants may need watering frequently.
However, avoid keeping the compost permanently saturated.
Chillies dislike prolonged waterlogging, which can damage roots and restrict growth.
As flowers begin to appear, a suitable high-potassium liquid fertiliser, such as a tomato feed, can support flowering and fruit development.
Follow the manufacturer’s instructions rather than assuming that more fertiliser will produce more chillies.
Excessive nitrogen can encourage lush leafy growth at the expense of fruit production.
A little restraint often produces better results.
Step 9: From Flowers to Chillies
One of the pleasures of growing chillies is watching the plants move from leafy growth into flowering.
Small flowers appear, often white, although their colour varies between species and varieties.
Chillies are generally self-fertile, meaning individual flowers can produce fruit using their own pollen.
In a greenhouse or indoors, gently shaking flowering plants can sometimes help pollen move between the flower’s reproductive parts.
As pollinated flowers develop, tiny chillies begin to form.
Initially, many varieties produce green fruits.
As they mature, these may change to red, orange, yellow, purple or other colours, depending on the variety.
Some chillies are perfectly enjoyable while green.
Others develop greater sweetness, flavour complexity or characteristic heat as they ripen.
The best harvesting stage depends upon the variety and how you intend to use the fruits.
When Can You Harvest Homegrown Chillies?
Harvesting times vary considerably.
Some early varieties may begin producing usable fruits during summer, while slower-growing chillies may not ripen fully until late summer or autumn.
Greenhouse-grown plants often benefit from the additional warmth needed for reliable ripening.
Use clean scissors or secateurs to cut ripe fruits from the plant, leaving a short section of stalk attached.
Avoid pulling chillies forcefully, as this can damage branches.
Regular harvesting may encourage further flowering and fruit development while conditions remain favourable.
Fresh chillies can be used immediately in cooking, frozen for later use or dried using appropriate food-safe methods.
And if your plants produce more than expected, homemade chilli sauces and chutneys are wonderful ways to preserve the harvest.
Can You Keep Chilli Plants Over Winter?
Although chillies are frequently grown as annuals in Britain, many are actually perennial plants in suitable climates.
With protection from cold conditions, some varieties can survive winter and produce another crop the following year.
Move healthy plants into a bright, frost-free position before temperatures become too low.
Reduce watering as growth slows and avoid unnecessary feeding during periods of limited light.
Inspect plants carefully for aphids, whitefly and other pests before bringing them indoors.
In spring, gradually increase watering and begin feeding again as active growth resumes.
Not every plant will overwinter successfully, particularly in cool or poorly lit conditions.
But when it works, there is something rather pleasing about welcoming an old favourite back for another growing season.
A Few Common Chilli Growing Problems
Even experienced gardeners occasionally encounter difficulties.
Seeds failing to germinate: The compost may be too cold, too wet or the seeds may be old. Maintain steady warmth and use fresh seed where possible.
Tall, weak seedlings: Usually caused by insufficient light. Move seedlings somewhere brighter or provide supplementary lighting.
Yellowing leaves: May result from watering problems, nutrient deficiencies or unsuitable temperatures. Check growing conditions before adding fertiliser.
Flowers dropping without forming fruit: Temperature extremes, inconsistent watering and poor growing conditions can all contribute.
Aphids and whitefly: Inspect the undersides of leaves regularly. Small infestations can often be managed by removing affected growth or gently washing pests away.
Most problems are easier to resolve when noticed early.
A few minutes spent observing your plants regularly can make a considerable difference.
A Small Seed, a Rather Satisfying Harvest
There is something wonderfully hopeful about sowing chilli seeds while winter still has a firm hold on the garden.
Outside, the soil may be cold and the days short.
Yet indoors, beneath a thin covering of compost, the beginnings of summer are already taking shape.
In the weeks ahead, those tiny seedlings will become leafy plants.
Then come the flowers, followed by the first small fruits and eventually a harvest of colourful chillies ready for the kitchen.
Some will be mild enough to enjoy generously.
Others may require a rather more cautious approach.
But whatever varieties you choose, the pleasure of growing them remains much the same.
It is the satisfaction of watching something develop from seed, understanding what it needs and enjoying the results of your care.
And when you finally pick that first homegrown chilli, you may find that the most rewarding part isn’t the heat it brings to your cooking, but the months of growing that brought it to your plate.
A little warmth, a little patience and a seed no bigger than your fingernail.
Sometimes that is all it takes to begin something rather wonderful.
Further Reading: Why Growing Food Makes You Feel Better, Take the Guesswork Out of Growing Veg, How to Create a Garden That Feeds Your Family, How to Start a Vegetable Garden Now Ready for Spring
Follow us on Instagram, Threads, BlueSky, Twitter, Pinterest & Facebook
Not sure where to start? Take a look at our Grow Your Own Packs with detailed step by step instructions, seeds and 1 years online support.