
There are few things in gardening quite as hopeful as sowing a seed.
You fill a pot with compost, make a small hole, drop in something that looks impossibly dry and lifeless, cover it over and water.
Then you wait.
The next morning, nothing.
Naturally.
You look again the following day.
Still nothing.
By the end of the week, you are inspecting the pot with increasing suspicion. Perhaps you prod the compost. Perhaps you give it another splash of water. Perhaps you begin wondering whether the seed packet contained seeds at all.
If you’ve found yourself asking “Why won’t my seeds germinate?”, you’re certainly not alone.
Seeds can fail to appear for all sorts of reasons, but most germination problems come down to a handful of things: temperature, moisture, light, sowing depth, timing and the condition of the seed itself.
And sometimes there isn’t actually a problem.
Sometimes the seed simply needs more time.
First, what does a seed need to germinate?
A seed may look inactive, but inside is a tiny living plant waiting for the right conditions.
For germination to begin, most seeds need three basic things: moisture, a suitable temperature and oxygen.
Water allows the seed to begin the processes that bring it out of dormancy. The right temperature allows those processes to continue, while oxygen is needed for respiration as the embryo begins to grow.
Some seeds have additional requirements.
Certain seeds germinate better when exposed to light, while others prefer darkness. Some benefit from a period of cold before they’ll germinate successfully.
Fortunately, most of the vegetables we commonly grow at home aren’t quite so demanding.
But they do have preferences.
And a tomato seed’s idea of comfortable conditions is very different from a broad bean’s.
Your seeds may simply be too cold
Temperature is one of the most common reasons for seeds failing to germinate.
This becomes particularly noticeable in early spring.
The sun appears. The birds are singing. You step outside without a winter coat for the first time in months and decide that spring has arrived.
The soil may disagree.
A bright March afternoon can be followed by a very cold night, and compost sitting in an unheated greenhouse can lose warmth surprisingly quickly.
Some vegetables are quite happy germinating in cool conditions.
Others are not.
Tomatoes, chillies, peppers, aubergines, cucumbers and courgettes all appreciate warmth. Sow them into cold compost and germination may be very slow, patchy or unsuccessful.
This doesn’t mean turning the house into a tropical greenhouse.
A warm windowsill, heated propagator or another reliably warm position may be enough, depending on what you’re growing.
Always check the seed packet for recommended germination temperatures.
The important thing is not to assume that because you feel warm in the spring sunshine, your seeds do too.
Or they may be too hot
More warmth isn’t always better.
Seeds have an optimum temperature range, and excessive heat can inhibit germination just as cold conditions can.
This is particularly worth remembering when using heated propagators or placing seed trays on sunny windowsills.
A propagator sitting in direct sunshine can become surprisingly hot.
Think of warmth as something to manage rather than maximise.
You’re trying to give the seed the conditions it prefers, not cook it into submission.
The compost has dried out
Once a seed begins taking up water, allowing it to dry out can stop germination in its tracks.
Small pots and seed trays are particularly vulnerable because they contain relatively little compost and can dry quickly in warm rooms, greenhouses and sunny windowsills.
Check them regularly.
The compost should remain moist while seeds are germinating, but that doesn’t mean permanently saturated.
A fine rose on a watering can or a gentle mister can be useful for small seeds because a heavy stream of water may disturb the compost and wash seeds from where you carefully put them.
Some gardeners cover seed trays with a clear propagator lid to help retain moisture.
Whatever method you use, consistency matters.
Seeds don’t appreciate alternating between desert and swamp.
You may be watering too much
When nothing appears, our instinct is often to do something.
And that something is frequently watering.
Again.
Unfortunately, seeds need oxygen as well as moisture.
If compost is continually saturated, the air spaces within it fill with water. Seeds can rot rather than germinate, and fungal problems become more likely.
The aim is moist, not sodden.
Before reaching automatically for the watering can, touch the compost.
Does it actually need water?
If it still feels damp beneath the surface, leave it alone.
This is one of those gardening skills that becomes easier with experience. Eventually you’ll be able to pick up a pot and have a surprisingly good idea from its weight alone whether it needs watering.
Until then, a finger works perfectly well.
You planted the seeds too deeply
A common beginner mistake is burying seeds far deeper than necessary.
It feels logical.
Seeds grow underground, so surely they need to be properly buried?
Not necessarily.
Very small seeds often need only the lightest covering of compost, and some seeds need light for successful germination and shouldn’t be covered in the conventional way at all.
Larger seeds can generally be planted more deeply.
A useful traditional rule is to sow seeds at roughly their own depth or a little deeper, but this isn’t universal. The packet instructions should always take precedence.
If a tiny seed is buried beneath several centimetres of compost, it may germinate but exhaust its limited energy reserves before the shoot ever reaches daylight.
When it comes to small seeds, restraint is often useful.
Or they’re sitting on the surface when they shouldn’t be
The opposite can happen too.
Some seeds need good contact with moist compost and are less likely to germinate successfully if they’re simply scattered onto a dry surface and forgotten.
Again, the seed packet is your friend.
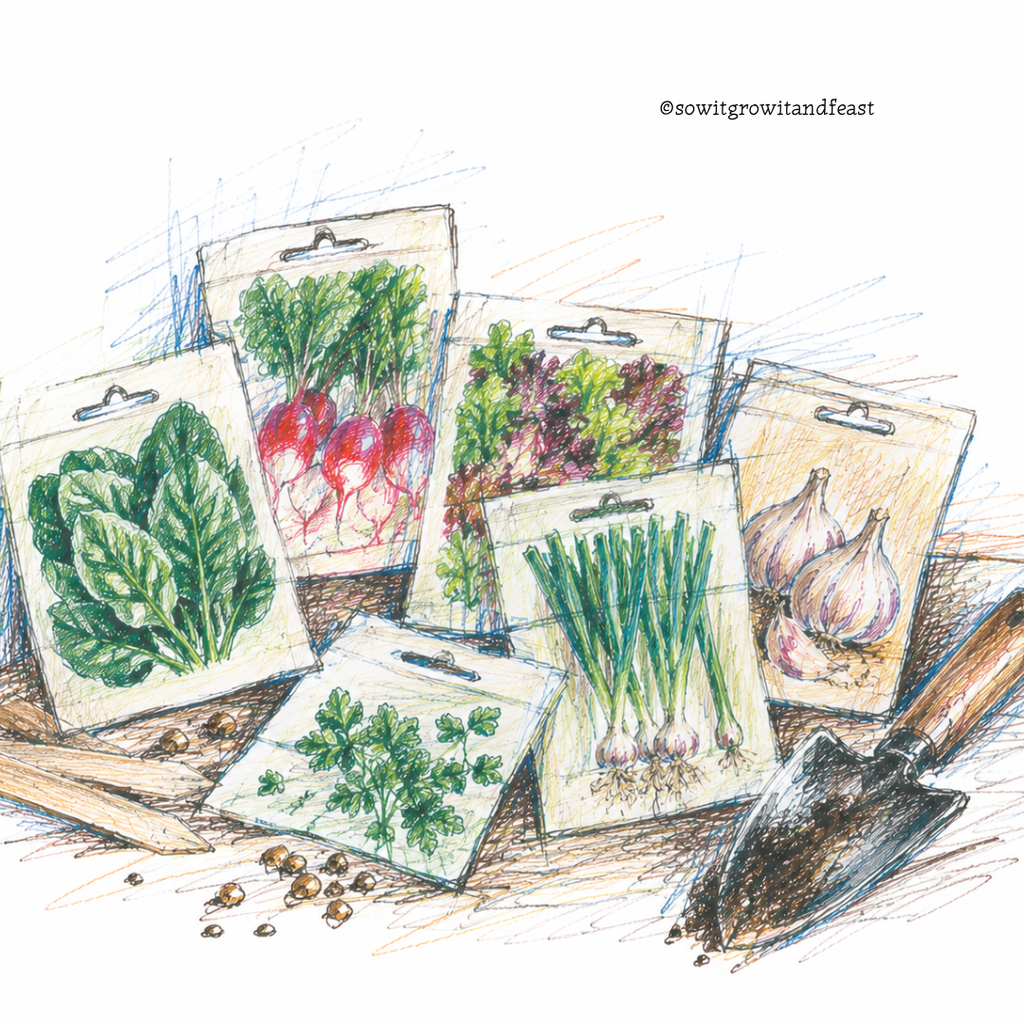
It isn’t merely packaging.
It usually tells you how deeply to sow, when to sow, whether to start indoors or outside and approximately how long germination should take.
Those few lines of instructions can save weeks of frustration.
Perhaps you’re sowing at the wrong time
It is very easy to sow seeds too early.
A bright January afternoon can make spring feel tantalisingly close, particularly when a new collection of seed packets is sitting on the table.
But daylight levels are still low and conditions outside may be entirely unsuitable.
Tender vegetables sown very early can require additional heat and light simply to keep them healthy.
At the other end of the year, seeds sown too late may struggle because temperatures are falling and days are becoming shorter.
The date on the calendar isn’t the only consideration.
Your part of the UK matters too.
A gardener on the south coast may be sowing successfully while someone growing the same vegetable in a colder, exposed garden further north sensibly waits several weeks.
Gardening calendars are useful.
Your own conditions are more useful.
Your seeds might just be taking their time
This is the easiest cause of failed germination to overlook.
Different seeds germinate at different speeds.
Radishes can appear remarkably quickly in good conditions.
Parsley has a reputation for taking its time.
Other seeds may emerge unevenly, with one seedling appearing several days before its companions.
So before tipping the entire pot onto the compost heap, check the packet.
How long should germination take?
And remember that the quoted time is generally based on suitable conditions.
If temperatures are cooler, germination may take longer.
Gardening teaches patience in many forms.
Waiting for a seemingly empty pot to do something is one of them.
Old seeds can be the problem
Seeds don’t remain viable forever.
Some species retain good germination rates for years when stored correctly, while others deteriorate more quickly.
How the seeds have been stored matters enormously.
Heat, moisture and humidity can shorten their useful life, which is why seeds are best kept somewhere cool and dry.
If you’ve found a half-open packet at the back of the shed and can’t remember whether you bought it two years ago or during the reign of a previous monarch, germination may be rather unpredictable.
But don’t necessarily throw old seed away.
You can carry out a simple germination test.
How to test whether old seeds are still viable
Take a small number of seeds and place them onto a piece of damp kitchen paper.
Fold the paper over them and place it somewhere suitable for that particular seed, keeping it moist but not waterlogged.
Then wait.
If eight seeds germinate out of ten, the packet is still performing very well.
If only two appear, you can still use the seed, but you may want to sow more thickly.
If nothing happens despite suitable conditions and enough time, the packet has probably reached the end of its useful life.
It’s a simple test that can save both compost and disappointment.
The compost may be causing problems
For sowing seeds in containers, use a suitable seed-sowing or multipurpose compost.
Very coarse compost can make life difficult for tiny seeds, while old compost that has been sitting wet for months may not provide particularly good conditions.
Garden soil isn’t usually the best choice for filling seed trays and small pots either.
It can be heavy in containers, may contain weed seeds and can harbour pests and diseases.
You don’t need an elaborate growing medium for most everyday vegetables.
You simply want something reasonably fine, free-draining and capable of holding enough moisture without becoming waterlogged.
Seeds can rot before you ever see them
Sometimes a seed does begin the germination process.
You simply never see the result.
Cold, wet compost is a particularly troublesome combination. Seeds may soften and rot before a shoot emerges.
This is common enough that if you’re trying to diagnose a completely empty pot, it can be worth gently investigating one seed.
If you can find it and it is still firm, it may simply need longer.
If it has become soft, mushy or discoloured, rot is a likely explanation.
Don’t excavate the entire tray every few days, though.
Seeds generally perform better without regular archaeological investigations.
Seedlings appeared – then vanished
Sometimes germination isn’t actually the problem.
The seedlings emerge successfully, only to collapse shortly afterwards.
One possible cause is damping off, a term used for fungal problems that affect young seedlings. Seedlings may collapse at soil level and die very quickly.
Overcrowding, excessive moisture and poor air circulation can encourage the conditions in which damping off becomes troublesome.
Use clean pots and trays, fresh compost and avoid overwatering.
Once seedlings have appeared, appropriate ventilation is also important.
A propagator that was helpful for germination can become too humid if kept tightly closed afterwards.
Don’t forget slugs and snails
There is another explanation for mysteriously empty seed rows.
Something ate them.
A newly emerged seedling is a very small thing, and a slug can remove it so thoroughly that you may never realise germination happened at all.
This is particularly frustrating with direct-sown crops.
You inspect the row each morning.
Nothing.
Meanwhile, somewhere nearby, a slug is looking unusually well fed.
If seedlings repeatedly disappear, look for signs of slug or snail activity and consider appropriate controls and physical protection.
Outdoor sowings face a harder life
Seeds sown directly into the garden have to contend with conditions that indoor seed trays never encounter.
Heavy rain can wash seeds away.
A dry spell can leave the seedbed without enough moisture.
Cold weather slows germination.
Birds and mice may eat larger seeds.
Slugs can take emerging seedlings.
The soil surface can form a crust that makes emergence more difficult.
None of this means direct sowing is a bad idea.
Carrots, parsnips and radishes are among the vegetables commonly sown where they’re going to grow.
It simply means outdoor germination is less controllable.
Preparing a fine seedbed, sowing at the appropriate depth and keeping the soil evenly moist can make a considerable difference.
Did something eat the seed?
Peas and beans are particularly tempting to hungry creatures.
Mice can discover newly sown peas and beans with remarkable efficiency, leaving you staring at a perfectly empty row several weeks later.
Birds can also investigate freshly disturbed ground.
If this repeatedly happens in your garden, starting seeds in pots or modules somewhere protected may give them a better chance.
Once the young plants are established, they can be moved outside at the appropriate time.
It is occasionally useful to remember that we’re not the only creatures who regard a vegetable seed as food.
Check whether the seed needs special treatment
Most everyday vegetable seeds can simply be sown according to the packet instructions.
But the wider world of seeds is wonderfully complicated.
Some seeds benefit from soaking before sowing.
Some have hard coats that need particular treatment.
Others need a period of cold – known as stratification – before they will germinate.
Some need light.
Others prefer darkness.
This is especially relevant when growing flowers, herbs, perennials, trees or less familiar edible plants from seed.
If you’ve given a particular seed apparently perfect conditions and nothing is happening, check whether it has special germination requirements.
Sometimes the seed isn’t failing.
It is simply waiting for a signal you haven’t provided yet.
Should you soak seeds before sowing?
You’ll often come across advice suggesting that seeds should be soaked before sowing.
For some larger, hard-coated seeds, soaking can help water penetrate the seed coat and begin the germination process.
But it isn’t necessary for everything.
In fact, adding extra steps to a straightforward sowing process can sometimes create more opportunities for things to go wrong.
Unless the seed packet or reliable growing guidance recommends soaking, ordinary sowing into moist compost is perfectly adequate for many common vegetables.
Gardening doesn’t always improve when we make it more complicated.
When should you give up and sow again?
This is the difficult one.
You’ve waited.
You’ve checked the moisture.
You’ve checked the temperature.
You’ve read the packet so many times you could probably recite it.
Still nothing.
If the normal germination period has passed comfortably and conditions have been appropriate, it may be time to sow again.
But don’t necessarily throw the first pot away immediately.
Put it to one side if you have room.
Seeds have an irritating habit of germinating just after you’ve declared them a failure.
For the second sowing, change something if you have reason to suspect a problem.
Use fresh compost.
Try a warmer position.
Open a newer packet of seed.
Water more carefully.
Sow at the correct depth.
Gardening failures are much more useful when we treat them as information.
Keep simple notes
You don’t need an elaborate gardening journal.
A notebook will do.
Write down what you sowed and when.
If useful, add where you put it and roughly when germination began.
Over time, these little notes become surprisingly valuable.
You’ll discover that tomatoes reliably germinate on one particular windowsill.
You’ll know that sowing courgettes very early didn’t achieve anything except producing enormous plants in the house.
You’ll remember which packet of parsley took weeks to appear.
And you’ll begin building something no gardening book can provide:
knowledge of your own growing conditions.
Why won’t my seeds germinate? A quick check
If you’ve sown seeds and nothing is appearing, work through the basics before starting again.
Check whether the compost is warm enough for the particular seed.
Make sure it is moist but not waterlogged.
Check the sowing depth.
Look at the packet to see how long germination should normally take.
Consider whether the seed is old or has been poorly stored.
Check whether that particular seed requires light, darkness, cold or another special treatment.
And if you’ve sown outdoors, remember the possibility of slugs, birds, mice, heavy rain or cold soil.
Usually, the explanation is somewhere in that list.
Give the seed what it needs – then give it time
The remarkable thing about germination is how little of it is really under our control.
We can provide compost.
We can add water.
We can find somewhere warm.
We can read the packet, label the pot and place it carefully on the windowsill.
Then we wait.
For several days, there is nothing but a pot of brown compost.
And then one morning, something changes.
A tiny loop of green pushes through the surface.
By afternoon it may have straightened.
A day later, the first leaves begin to open.
It happens every growing season, and somehow it never becomes ordinary.
So if your seeds haven’t germinated yet, don’t immediately assume you’ve failed.
Check the temperature.
Check the moisture.
Check the packet.
Then wait a little longer.
There may already be something happening beneath the surface.
Further Reading: Why Growing Food Makes You Feel Better, Take the Guesswork Out of Growing Veg, How to Create a Garden That Feeds Your Family, How to Start a Vegetable Garden Now Ready for Spring
Follow us on Instagram, Threads, BlueSky, Twitter, Pinterest & Facebook
Not sure where to start? Take a look at our Grow Your Own Packs with detailed step by step instructions, seeds and 1 years online support.